DTF printing has revolutionized the way the decorating industry approaches custom apparel by creating an infinite number of possibilities, brilliant designs, and long-lasting transfers on nearly all fabric types. However, perfect DTF transfers depend on how you apply the heat press technique. In this tutorial, we will talk about everything you need to know to apply DTF transfers, such as the best settings for the heat press, tips to perfect it, and how to choose the right heat press that matches your needs.
Understanding the Basics of DTF Transfers
DTF transfers are the transfers onto fabric from commissioned designs that have been printed on special films using heat. It is a bright or fine detailed print and a favorite for custom T-shirts, hoodies, and other garments. How good the DTF transfer results will mostly be linked to the right usage of a heat press technique.
Why Use a Heat Press for DTF Transfers?
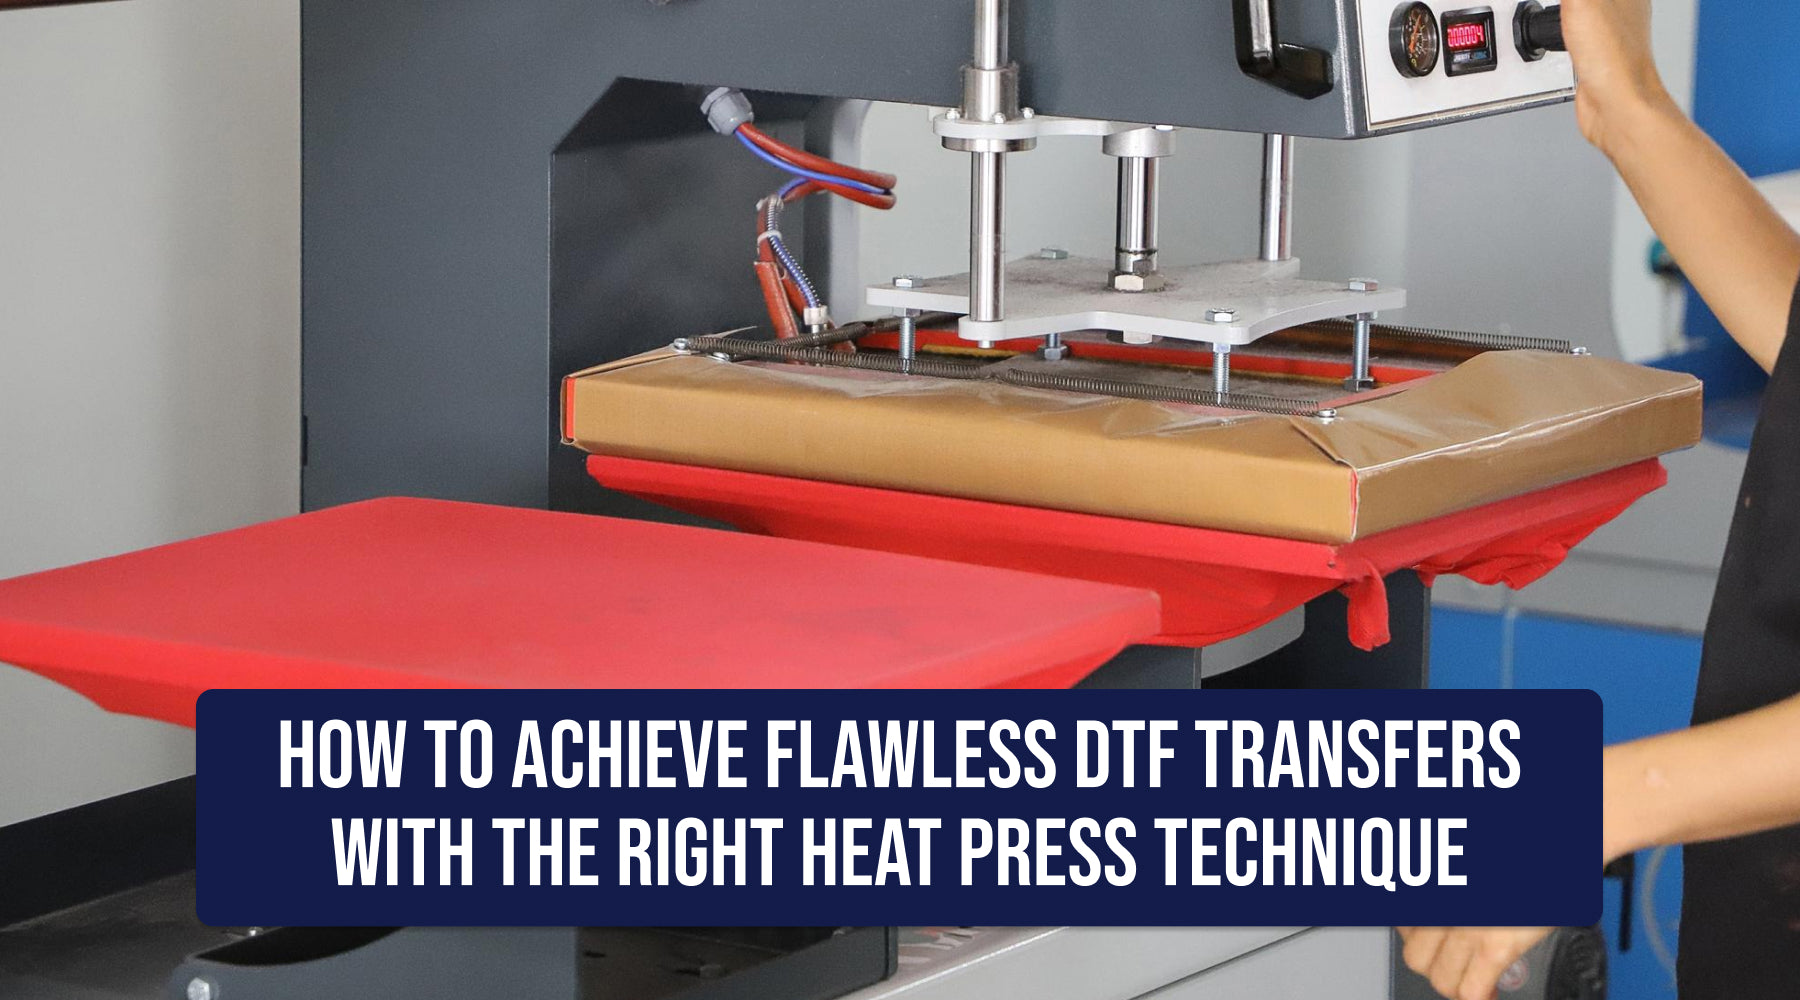
A quality heat press for DTF transfers will ensure that heat and pressure are equalized across the design. One important feature of the perfect application is the use of an iron or other source of heat to do this, but only a heat press gives the exactness and repeatability in achieving professional spreads.
Choosing the Best Heat Press for DTF Transfers
The choice of the proper heat press is very critical to have high-quality DTF transfers. Follow these guidelines in selecting your heat press for DTF transfers:
Size of the Heat Press
The size of the heat press should match the size of the designs you’ll be transferring. For larger designs, you’ll need a heat press with a larger platen. A smaller heat press may not provide enough coverage, leading to uneven transfers.
Also Read: Eco-Friendly DTF Transfer Inks: A Sustainable Choice for Printing
Temperature and Pressure Control
DTF heat transfer settings are established for temperature and pressure regulation. Find a heat press that allows settings to be dialed in, preferably with precision, as they usually vary between specific fabrics and different transfer films.
Even Heat Distribution
Ensure the heat press emanates heat uniformly across the platen. Uneven heat can cause some portions of the design not to cure enough or cure too much, leading to a poor quality transfer.
Cricut Heat Press for DTF Transfers
For those using smaller designs or working on a budget, a Cricut heat press for DTF transfers can be a viable option. It has no comparison to the industrial-grade heat press in terms of power, but it's mobile, easy to use, and sufficient for the average small-scale project. For professional-grade results consistently, a full-sized heat press would be recommended.
Optimal DTF Heat Press Settings
Perfect transfers are realized with the right DTF heat press settings. Here’s a breakdown of the best settings:
Temperature
In this case, the overall temperature should range between 320°F and 350°F (150°C and 175°C). Note that this may be different depending on the type of transfer film used and the fabric chosen. Do always refer to the specific recommendations in the instructions of the material manufacturer.
Also Read: How Much Does a DTF Printer Cost?
Pressure
When doing DTF transfers, the trick is to apply medium to firm pressure so that the transfer film sticks well to the fabric, pushing the design into the fibers for maximum toughness.
Time
The general pressing time for DTF transfers is recommended between 15 to 20 seconds. It may change concerning the material, thus often advised to do a few presses to check the most appropriate pressing time for a given particular setting.
Step-by-Step Guide: Achieving Flawless DTF Transfers
Now that you’ve selected the right heat press and understand the settings, let’s walk through the process of achieving flawless DTF transfers.

1. Preheat the Heat Press
First, set the press temperature using the temperature provided. This will make sure that the platen is uniformly hot, ensuring great transfer results.
2. Prepare the Fabric
Lay the fabric on the plate of the heat press while eliminating wrinkles and lint at all costs. Make sure to press the transfer film at a minimum time—that is, for less than 5 seconds—the rest is for the moisture to dry; the fabric should even be smooth.
3. Position the DTF Transfer Film
Place the DTF transfer film onto the fabric, printed side facing the fabric. If necessary, put a few pieces of heat-resistant tape to fix the film's position.
4. Apply Heat and Pressure
Close the press and ensure that, at the temperature, pressure, and time setting, there is a price applied in equal measure across the design applied.
5. Peel the Film
Carefully peel away the transfer film while still hot. For some DTF films, a cold peel will be needed; proceed according to the manufacturer's instructions.
6. Post-Press (Optional)
A fast post-press will help add some durability to some of your designs. Cover the design with a paper, parchment paper, or Teflon sheet, and press one more time for 5-10 seconds.
Also Read: How to Make a DTF Gang Sheet
DTF Curing with Heat Press
Sometimes DTF transfers may require further curing post-pressing.DTF curing with heat press might either be over a longer duration or at higher temperatures to ensure the ink thus finally adheres to the substrate properly. This is most important for high ink deposit designs or relatively hard-to-handle fabrics.
It's always very amazing mastering the heat press technique for DTF transfers can turn your custom clothing into a masterpiece, such as allowing you to create designs that are bright and durable, catching everyone's attention. Selecting the right press, knowing the right settings, and using good methods will get you perfect transfers every time.
Ready to take your custom apparel to the next level? Explore our range of top-quality DTF transfer and heat presses at DTF NC. Whether you’re a beginner or a seasoned pro, we have everything you need to achieve professional results. Visit our website today and start creating!
FAQs
Can you use a heat press for DTF transfers?
The best results for DTF transfers come with the use of a heat press, as it offers proper heating and pressure to ensure good adhesion; the design would stick well on the fabric.
What is the best heat press setting for DTF?
As a matter of thumb, the best settings for a heat press would be a temperature between 320° and 350°F and medium to firm pressure, with about 15–20 seconds of pressing time. This type of setting would have to be variable according to the materials.
What is the time and temp for pressing DTF transfers?
The ideal press time and temperature for DTF transfer are within the range of 15-20 seconds at a temperature of 320-350°F. Test press to know the exact setting for your material beforehand.
How to make ready-to-press DTF transfers?
Production of DTF transfers; pre-pressing The process of making it ready-to-press is by printing a design on special DTF transfer film, applying some adhesive powder on it, and curing it before pressing the same onto fabric. High-quality DTF inks, films, and powders should be used for the best results.


