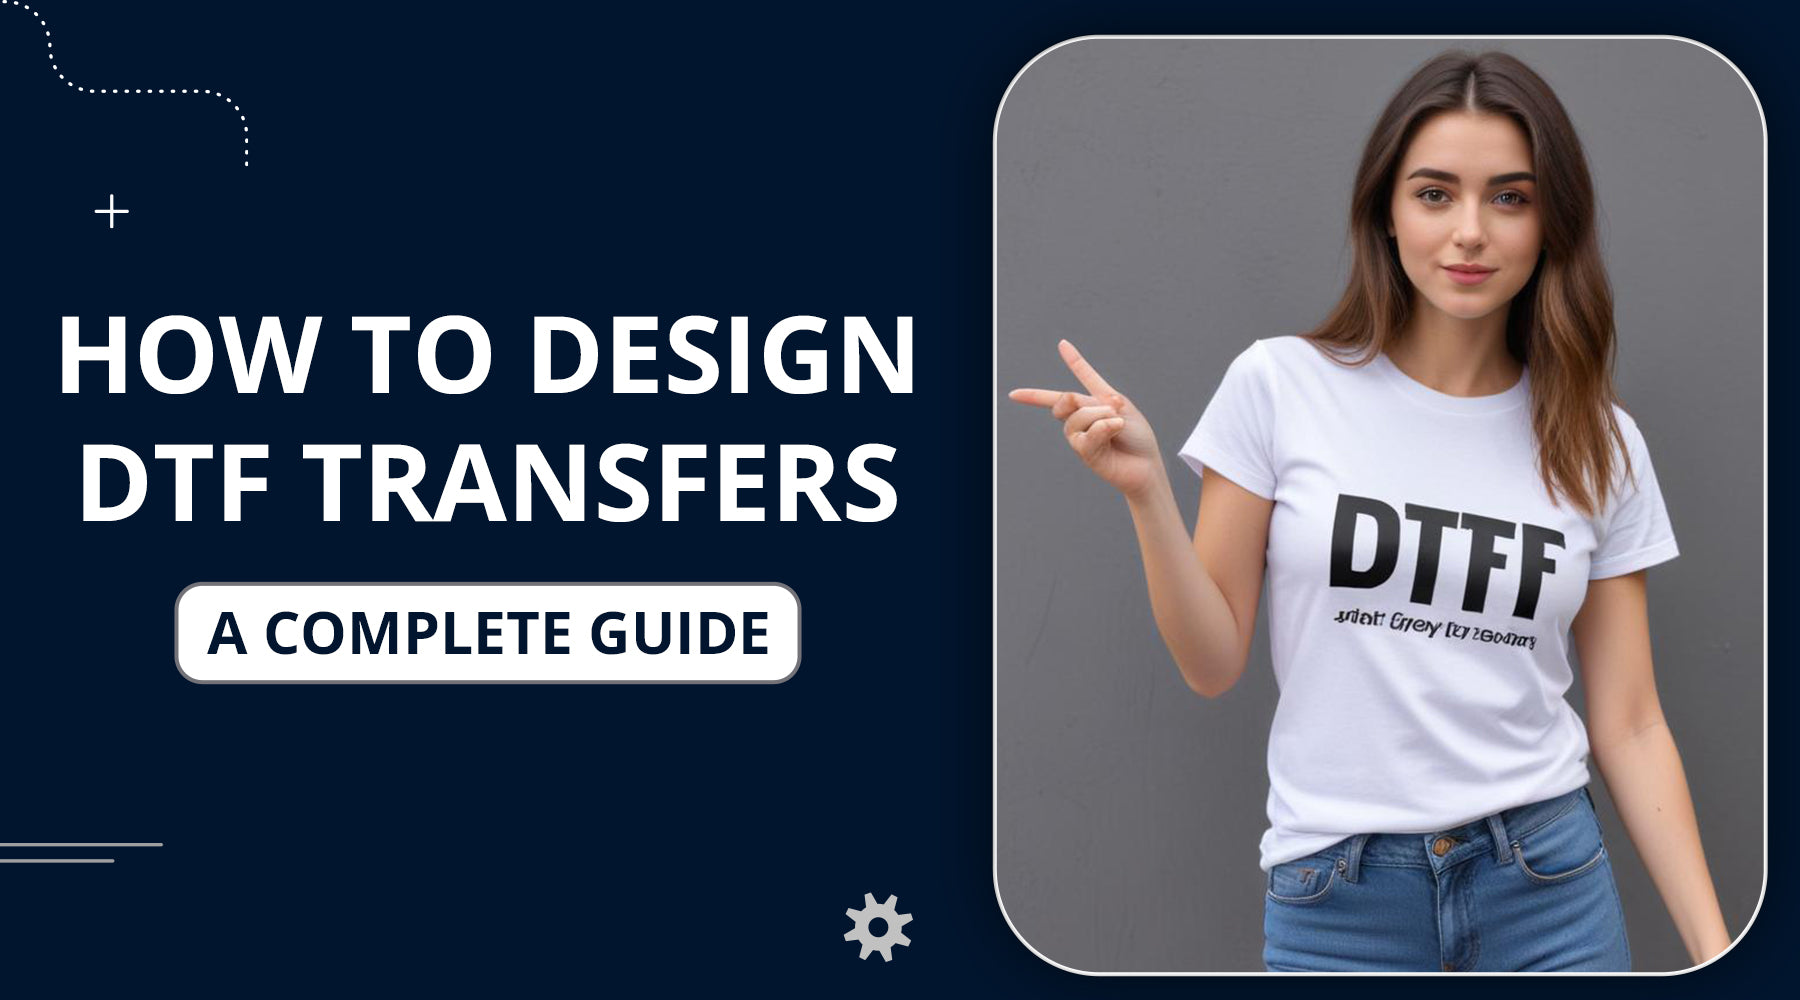
In the evolving custom apparel world, DTF transfers quickly become the vibration for vivid, long-lasting, and intricate designs. Imagine being able to turn a digital creation into wearable, amazing artwork right from your workspace. The ability to design DTF transfers brings limitless possibilities for personalization and creativity when a person is an experienced designer or even a starter. But how could this design look awesome and transfer to fabric at the same time?
This guide is going to unlock for you all secrets on how to master DTF transfer design with tools and techniques that will help set your designs apart.
Understanding DTF Transfers
First, let’s understand what DTF Transfer is, Direct-to-film, or DTF, printing refers to a process whereby designs are printed onto a special film, which is heated and compressed to fix the design onto the fabric. This process goes well in creating high-detail, multicolored designs—especially when one wants to design your own DTF transfer at home or maybe in a small business setup.
Also Read: 10 Best T-Shirt and Ink Color Combinations to Try
Step-by-Step Guide to Designing DTF Transfers

1. Choose the Right Software
The very first step of creating a DTF transfer design involves selecting the appropriate software. There are many of them available, but only a few are compatible with DTF printing:
- Adobe Photoshop and Illustrator: They are considered benchmarks for graphic design. They offer so much that almost anything can be created into minute details, excellent for DTF heat transfer design.
- CorelDRAW: This is yet another excellent option; it's user-friendly and has tons of features as far as making vector-based designs is concerned.
- Canva: At the same time, Canva is also easily usable and web-based. It could turn out to be an ideal platform for a beginner who would like to make basic designs and text-based graphics, although it does lack most professional features in comparison with Adobe or CorelDRAW.
2. Create Your Design
Now that you have selected your software, start designing. Here are some tips:
- Start with a high-resolution image: Quality of design is what's going to directly impact the final output. The quality of your design is going to be directly reflected in the transferred final output. Always use high-resolution photos so the print is clear and sharp.
- Use layers: Layers can give added control over the various elements in a design. This is particularly necessary when one is working on very detailed artwork or using numerous colors.
- Consider the color of your fabric: Keep in mind that, depending on your fabric color, your design will turn out differently. You will want to add a white underbase to your design if you have dark cloth.
3. Add Text and Effects
One of the primary elements of most DTF transfer designs is the text. Here's how you make it pop:
- Font selection: Choosing the appropriate font and following the design style that one intends to use is very vital. Bold and clear fonts will work well for most transfers since it allows clarity in reading.
- Add text effects: Apply various text effects, shadows, gradients, or outlines to add some depth and dimension to your text. Do not overdo this as the design will start to look crowded.
Also Read: How to Put a Logo on a T-Shirt: Easy Step-By-Step Guide
4. Prepare for Printing
Once you are through with composing your design, the next thing to do will be to prepare it for printing:
- Check the Colour Profile: Make sure that your design is in the correct color profile. This will usually be CMYK for printing. It ensures that the colors are right when they are finally transferred.
- Flatten the Image: If there are multiple layers used in the design, flatten them all once the design is complete and save your file. This avoids any problems related to printing.
- Save in the right format: Keep your design in a transparent PNG or TIFF file. This type is crucial for DTF transfer designs wholesale in that it retains quality and gives clear transfers on different materials.
Designing DTF transfers is an interesting and rewarding thing when it involves personal projects or business purposes. By using the right tools and applying some of the above-mentioned methods, you'll be able to prepare unique and eye-catching DTF transfer designs. Never forget that practice makes perfect; hence, never hesitate to try different styles and techniques.
Ready to bring your designs to a whole new level? Begin working on your DTF transfer designs today! From design tips to the best quality transfer materials for DTF printing, get all of your DTF Supplies at DTFNC. Do not wait any longer to bring your creative imagination into reality using DTF.
Also Read: Funny T-Shirt Sayings Worth Clicking on in 2024
FAQs
How do I design a DTF transfer?
Designing a DTF transfer means choosing the right software, developing a quality design, adding text and effects, and, finally, the preparation of the file for printing. The key is to ensure your design is compatible with the DTF printing process and has high-resolution images so that everything goes well.
Can I use Canva for DTF transfers?
Yes, Canva does apply to DTF transfer designs; in particular, this is so if what one wants is a simple and easy-to-use platform. Though lacking in sophisticated features akin to those provided in Adobe Photoshop or any of the high-end programs, it turns out to be an excellent starting point in designing simple graphics.
What software is needed for DTF transfer?
The most used software in designing DTF transfers are Adobe Photoshop, Illustrator, CorelDRAW, and Canva. Of course, each of these programs has special tools and possibilities; some are more suitable for simple, others for very complicated designs.
How to press DTF transfers with a heat press?
The last part of the process is pressing your DTF transfer, which is designed and printed onto the fabric. The final step in this DTF printing process involves pressing the transfer onto the fabric using a heat press. Fast Guidelines:
- Set the temperature range properly in your heat press: 320°F to 330°F (160°C to 165°C).
- Place the transfer in this position: Place the printed side of the DTF transfer down onto the fabric.
- Put some pressure on it: Shut down the heat press and then, from medium to high, push the pressure button for 10-15 seconds.
- Cool and peel: Allow the transfer to cool, then peel off the film from the fabric, and there will be your design.