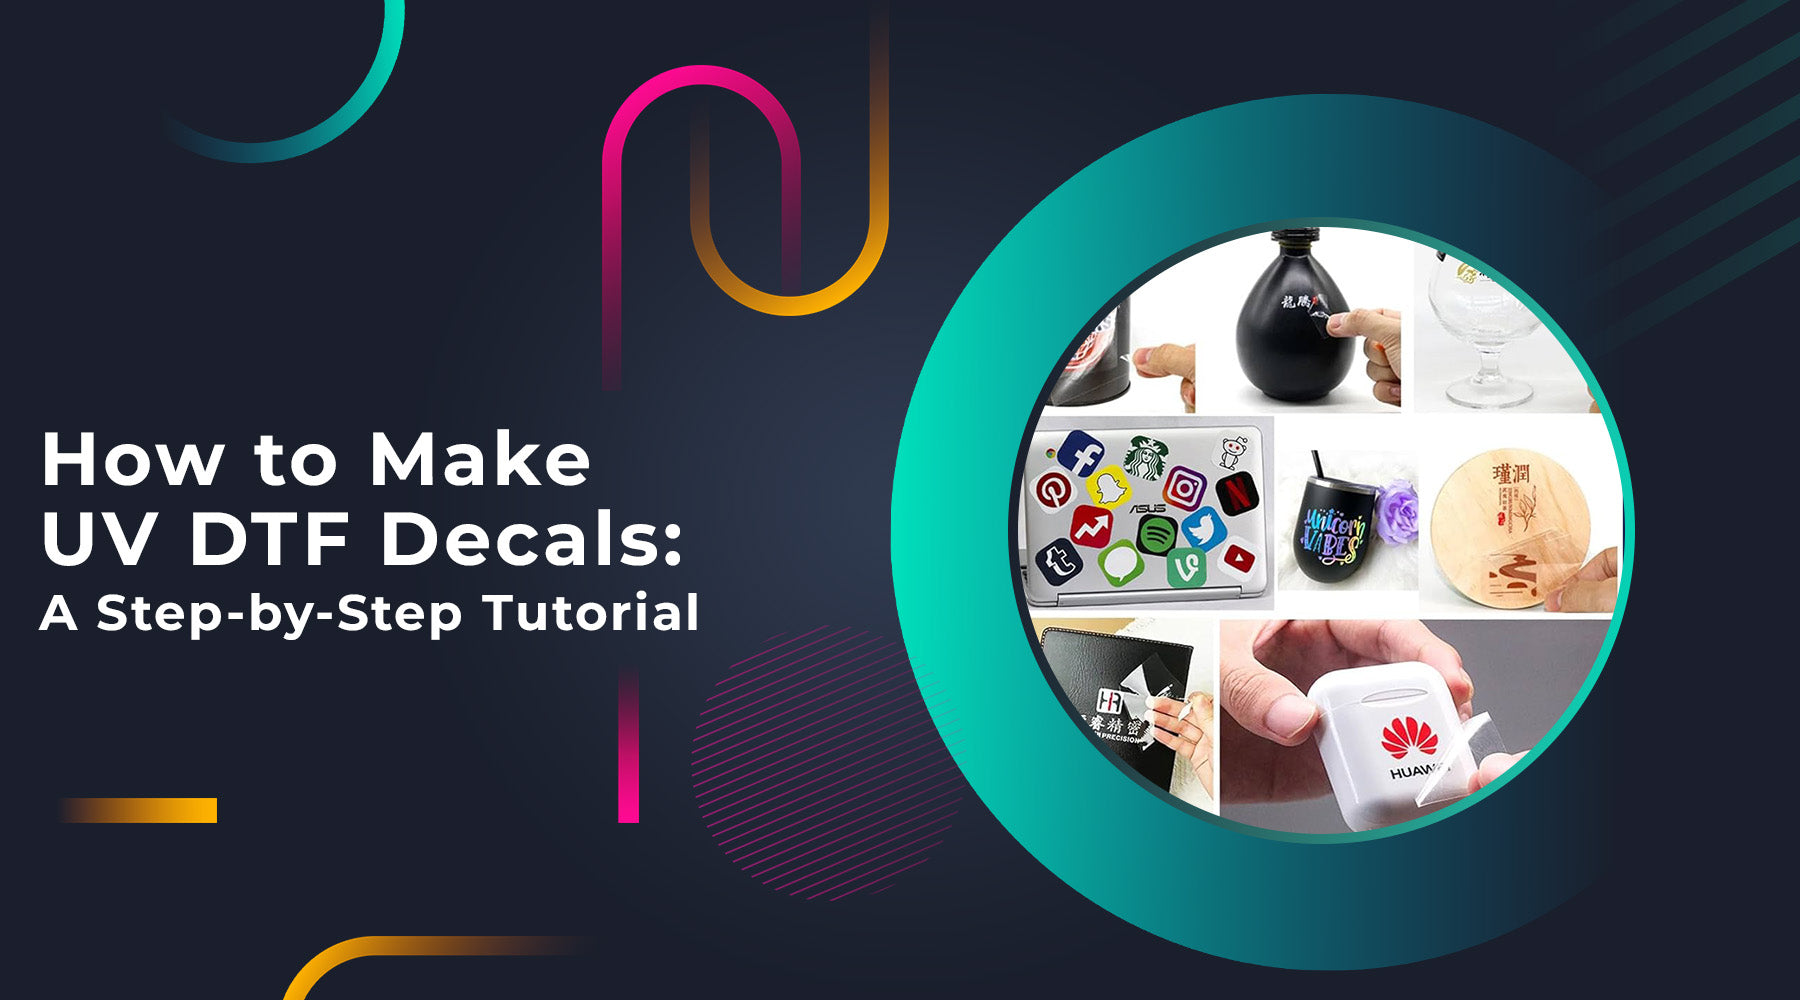
UV DTF (direct-to-film) decals have completely changed the game when it comes to applying a custom design and will continue to do both very well in the years to come. Whether you want to personalize tumblers, create custom stickers, or make pretty wraps whole it comes down to UV DTF decals.
This tutorial will walk you through the process of how to make UV DTF decals from start to finish and cover everything in between — from materials required to application tips. Along the way, we’ll also touch on UV DTF cup wraps and stickers. Let’s get started!
What You Need to Make UV DTF Decals
Before you proceed to create your UV DTF decals, there are materials you need to have. To be sure that your decals come out crisp, vibrant, and long-lasting, you'll need to use special tools and supplies.
- UV Flatbed Printer: Currently, it is essential for printing high-quality UV DTF decals. This means we can directly print on film sheets.
- UV DTF Film: Specifically, it’s a type of film that lets you print your design. It is intended to receive UV inks and transfer them onto different types of material.
- UV Adhesive: It helps to stick designs onto things like tumblers, cups, or stickers.
- UV Curing Lamp: Used to harden the adhesive and set the ink, so that it will be durable, as well as long-lasting.
These materials will form the backbone of your UV DTF decal creation process, ensuring you can make a variety of products like UV DTF stickers or UV DTF wraps.
Also Read: What is a DTF Printer? Understanding the Technology Behind DTF Printing
How to Make UV DTF Decals Step-by-Step Process
Creating UV DTF decals involves a few key steps. Once you’ve gathered your materials, you’re ready to begin the process:

- Design Your Decal: Design your decal using software such as Adobe Illustrator or CorelDRAW. It lets you make custom shapes, logos, or artwork to fit your special purpose.
- Prepare the Film: You can place the UV DTF film on the UV flatbed printer. Check to make sure the film is properly aligned and secure before you start to print.
- Print the Design: The flatbed UV printer can then be used to print directly onto the film, with your design. The printer uses UV inks that cure instantly with UV light and therefore deliver brilliant and permanent print quality.
- Apply UV Adhesive: After the design is printed up, sandwich the film between pieces of paper and apply a thin layer of UV adhesive to the film. The decal will adhere to your selected surface based on this.
- Transfer to Surface: Once placed onto the object you want to customize, in this case, a cup or tumbler, add the film. Solidly push on this to get a good adhesion to the surface.
- Cure Under UV Light: Adhesive, as well as ink, are hardened using a UV curing lamp and set. It all takes a few seconds, and once it is cured your design is permanent.
- Peel Away the Film: Gently peel away the film after curing, with the design adhered perfectly to the surface.
This simple process allows you to create vibrant, durable decals for a variety of uses. Whether how to make UV DTF transfers for shirts or UV DTF cup wraps, the steps remain largely the same, ensuring consistency across your designs.
How to Make UV DTF Cup Wraps with a Sublimation Printer
In addition to the traditional method, you can also use a sublimation printer to create UV DTF cup wraps. While a UV flatbed printer is ideal, a sublimation printer can be a more cost-effective option for smaller businesses or DIY enthusiasts.
Here’s a quick guide on how to make UV DTF wraps with a sublimation printer:
- Design Your Wrap: Like the UV DTF method, build your wrap in graphic design software first.
- Print onto Sublimation Paper: Use your sublimation printer to print your design onto sublimation paper.
- Transfer onto UV DTF Film: Transfer the printed design onto the UV DTF film using a great deal of care.
- Apply UV Adhesive: Again, this has the same results as applying UV adhesive to guarantee it sticks to the surface.
- Wrap the Object: Have your design wrap around a cup, tumbler, or bottle.
- Cure with UV Light: Cure under UV light for a long-lasting vibrant finish.
Using this method, you can create stunning, durable UV DTF cup wraps without the need for a specialized UV flatbed printer.
Also Read: What Does DTF Mean in Printing? Discover the Growing Trend in Apparel Decoration
How to Make UV DTF Stickers
To make UV DTF stickers, follow these steps:
- Design the Sticker: You design your design using graphic design software like Adobe Illustrator or CorelDRAW.
- Print the Design: Print the design with a UV flatbed printer onto a UV DTF film. Ink is cured instantly with UV light by the UV printer, giving you a vibrant and durable print.
- Apply UV Adhesive: When you want to print, apply UV adhesive to the back of the film. That will hold the sticker to other surfaces.
- Cure Under UV Light: The ink takes a set with a UV curing lamp and the adhesive is hardened with the same UV curing lamp. This will help you ensure the sticker is ready for long-term use.
- Peel and Apply: peel off the protective film, and apply the sticker to your desired surface. This results in beautiful custom UV DTF stickers that are durable for all kinds of uses!
How to Apply UV DTF Transfers to Shirts
Applying UV DTF transfers to shirts follows a similar process as cup wraps or decals, but with a few tweaks to accommodate fabric surfaces. Here’s a step-by-step guide to apply UV DTF transfers to shirts:
- Prepare the Shirt: Make sure the shirt is clean and smooth with no wrinkles. This will allow the transfer to stick.
- Position the Transfer: Put the UV DTF transfer on the shirt with your intended position on it.
- Apply Heat: Unlike in UV lamp hard surfaces, DTF transfers on fabric are applied with a heat press. The heat press’s temperature is set according to the kind of fabric used (normally about 320°F for cotton).
- Press Firmly: So, press down for about 10 - 15 seconds to get the transfer to go on well.
- Peel Away Film: After cooling, cut the transfer film off with a pair of scissors, after which you will have a design of the shirt itself.
UV DTF transfers on shirts are durable and offer a smooth finish, perfect for custom apparel designs.
How to Apply UV DTF Transfers with Iron
Don’t have a heat press? No problem! You can still apply UV DTF transfers with a household iron. Here’s how:

- Position the Transfer: The UV DTF transfer goes on the fabric where you wish the design to be.
- Set the Iron: Put your iron on high heat (most often cotton or linen). Make sure that the steam function is switched off.
- Cover with Parchment Paper: Finally, place a sheet of parchment paper over the transfer to protect it.
- Iron the Transfer: In 10-15 seconds, press down with the iron and make sure you press it with even pressure over the whole design.
- Cool and Peel: Peel the film away after your design has cooled slightly, you will then see your UV DTF transfer.
While a heat press is ideal, an iron provides an accessible alternative for applying UV DTF decals at home.
Also Read: How to Print DTF Transfers? Learn the Correct Technique for Best Results
Conclusion
Now that you know the ins and outs of how to make UV DTF decals, it’s time to get started. Whether you’re creating custom stickers, cup wraps, or transfers for shirts, this method offers endless possibilities for creative designs. With the right tools, you can craft durable, vibrant decals that stand the test of time.
If you want to learn more about DTF, visit DTFNC.
FAQs
-
What do I need to make UV DTF wraps?
To make UV DTF wraps, you need a UV flatbed printer, UV DTF film, UV adhesive, and a UV curing lamp. They make sure your wraps get printed with vibrant colors and it doesn’t lose its durability.
-
Can UV DTF be used on tumblers?
Yes, UV DTF can be applied to tumblers. Carrying UV DTF wraps features new tumblers that are perfect for getting custom designs on tumblers that are durable, water resistant, and great for everyday use.
-
How are UV DTF stickers made?
UV DTF stickers are made with a design printed on UV-DTF film using a UV flatbed printer. Once the sticker is applied, you apply UV adhesive and cure the sticker under UV light before it’s ready to be used on any surface.
-
What is a UV DTF cup wrap?
UV DTF cup wrap is a personalized decal that is to be wrapped in cups or cups. With it, you can do full surface decoration for that complete high quality, vibrant design that won’t wear out.


20 comments
WilliamPrirl
Venture into the massive galaxy of EVE Online. Forge your empire today. Explore alongside millions of players worldwide. [url=https://www.eveonline.com/signup?invc=46758c20-63e3-4816-aa0e-f91cff26ade4]Start playing for free[/url]
GordonpoiSp
Launch into the massive galaxy of EVE Online. Start your journey today. Trade alongside millions of pilots worldwide. [url=https://www.eveonline.com/signup?invc=46758c20-63e3-4816-aa0e-f91cff26ade4]Play for free[/url]
GordonpoiSp
Venture into the expansive realm of EVE Online. Shape your destiny today. Conquer alongside thousands of pilots worldwide. [url=https://www.eveonline.com/signup?invc=46758c20-63e3-4816-aa0e-f91cff26ade4]Free registration[/url]
Horacehew
Dive into the expansive sandbox of EVE Online. Test your limits today. Trade alongside hundreds of thousands of pilots worldwide. [url=https://www.eveonline.com/signup?invc=46758c20-63e3-4816-aa0e-f91cff26ade4]Play for free[/url]
Gregorysoaky
Plunge into the epic sandbox of EVE Online. Test your limits today. Conquer alongside millions of explorers worldwide. [url=https://www.eveonline.com/signup?invc=46758c20-63e3-4816-aa0e-f91cff26ade4]Start playing for free[/url]